|
How to Use a Digital Scrapbook Template
Open a new, transparent document. NOTE: The size of your new file should correspond to the size of the digital scrapbook template.
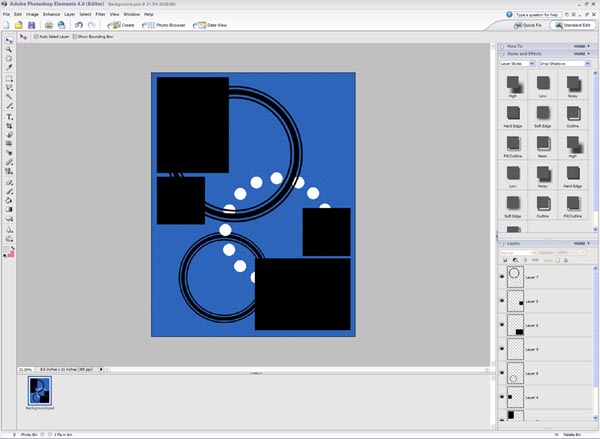
To pull a sheet of digital paper into your new document, simply drag and drop it onto your new file using the Move Tool. As most digital paper will come in 12" x 12" format, select both layers in your Layers Palette, right-click and select the Merge Visible option. Then, SAVE your file. How to Use a Digital Scrapbook Template Step #2 Open your digital scrapbook template files. In this example, I'm using one of my own digital scrapbook templates.
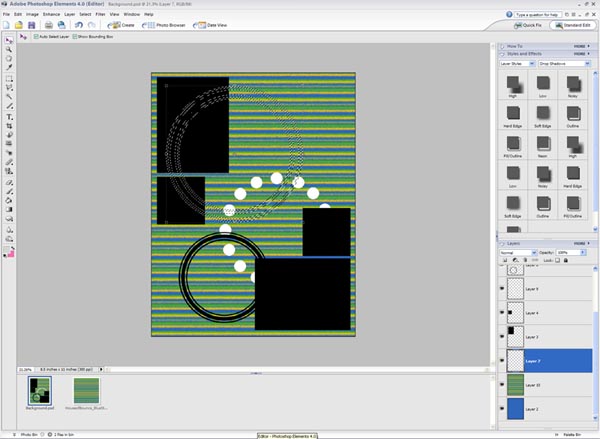
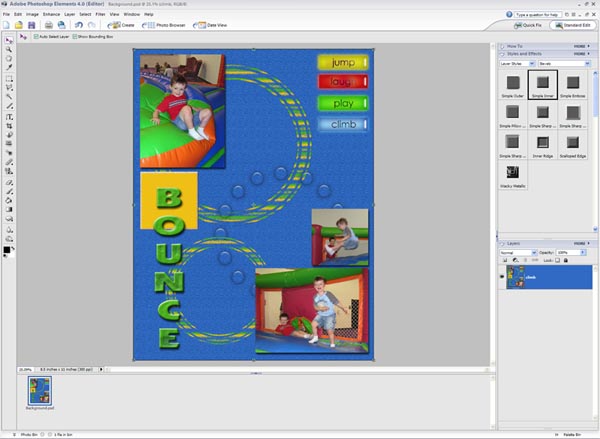
Initially, they will fall in place exactly as they were designed in the original sketch. Once you have them in place, feel free to move them around, as you feel appropriate. If you haven't already, close your digital scrapbook template files (and SAVE your file). How to Use a Digital Scrapbook Template Step #3 As all of the page elements are layers, as opposed to shapes, you will have to work a little magic in order to apply your favorite patterned papers or to change their color. First, open a sheet of digital paper that you would like to use for one of your elements. In this example, I'm going to apply patterned paper to the big circle layer. As you did above with your background, drag and drop the sheet of patterned paper into your new file using the Move Tool. Then, move the patterned paper layer directly below the layer you are looking to modify.
Next, select the inverse of this image (Shift + Ctrl + I in Photoshop Elements) and then hit the Delete button. NOTE: If you hit the Delete button, and it looks like nothing happened, make sure the patterned paper layer is selected.
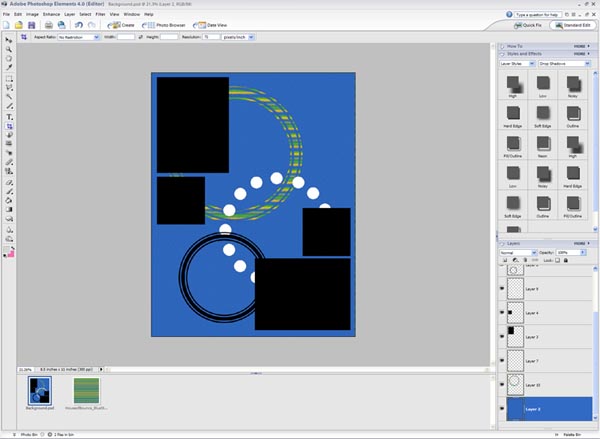
If you simply want to change a layer to a different color, hold down the Ctrl button and click on the appropriate layer. Then, create a new fill layer based on a solid color. How to Use a Digital Scrapbook Template Step #4
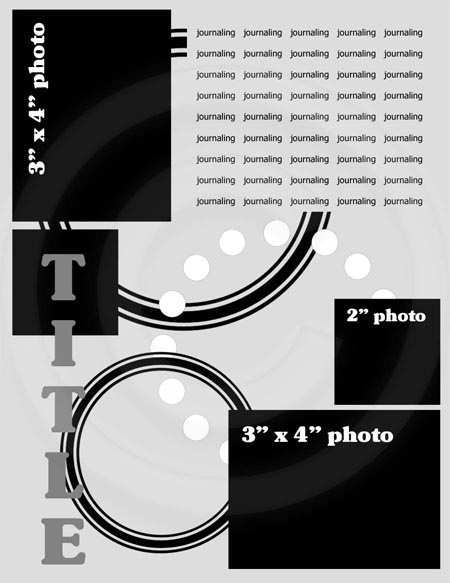
If you look at the sketch example, you will see exactly what size the picture will need to be, so you can easily set your crop parameters accordingly (don't forget to set the ppi to 300). Then, drag and drop all your cropped pictures into your new layout file and delete your picture "placeholder" layers.
Once everything is done, to clean things up, I'd recommend that you do another Merge Visible with all the layers. If you've created something yourself, and you would like to save it for another layout, simply create a copy and move it into its own file. If you have any questions on how to use a digital scrapbook template, please don't hesitate to let me know. I am more than willing to help. Happy Scrapping (oh…and don't forget to SAVE your file)!
|