|
How Do I Scrap That?...
|
So, let's get started!
For my project, I used 4x4 mini-clipboards from Oriental Trading. Since I was making altered clipboards as Christmas gifts, and knew that I would need quite a few, I stuck with the smaller size to speed up the process, but you can also get them in 12x12
size.
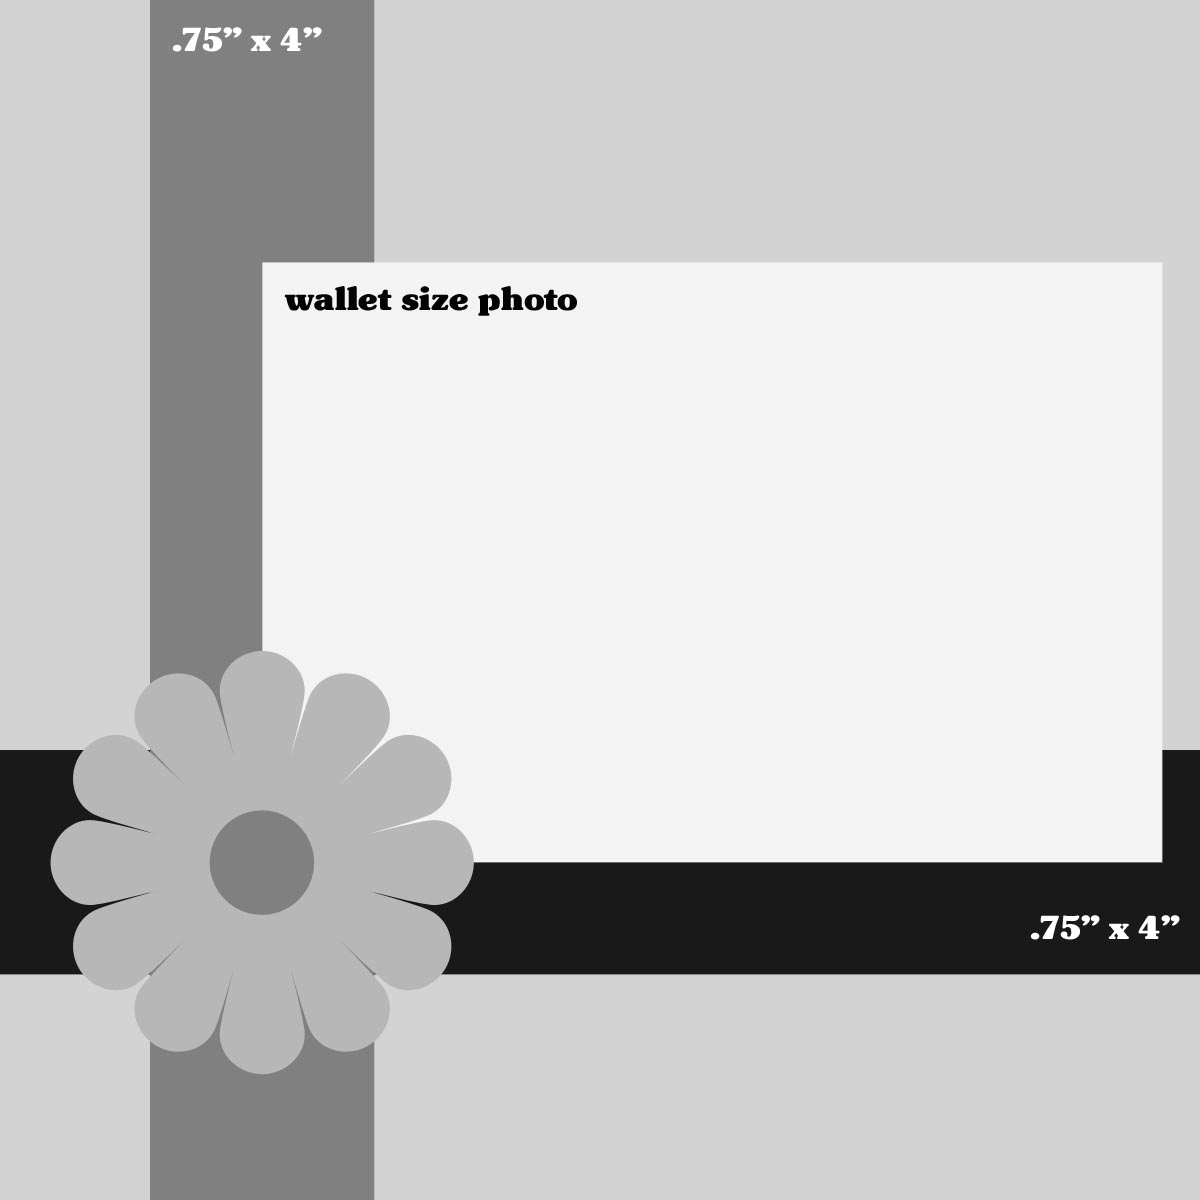
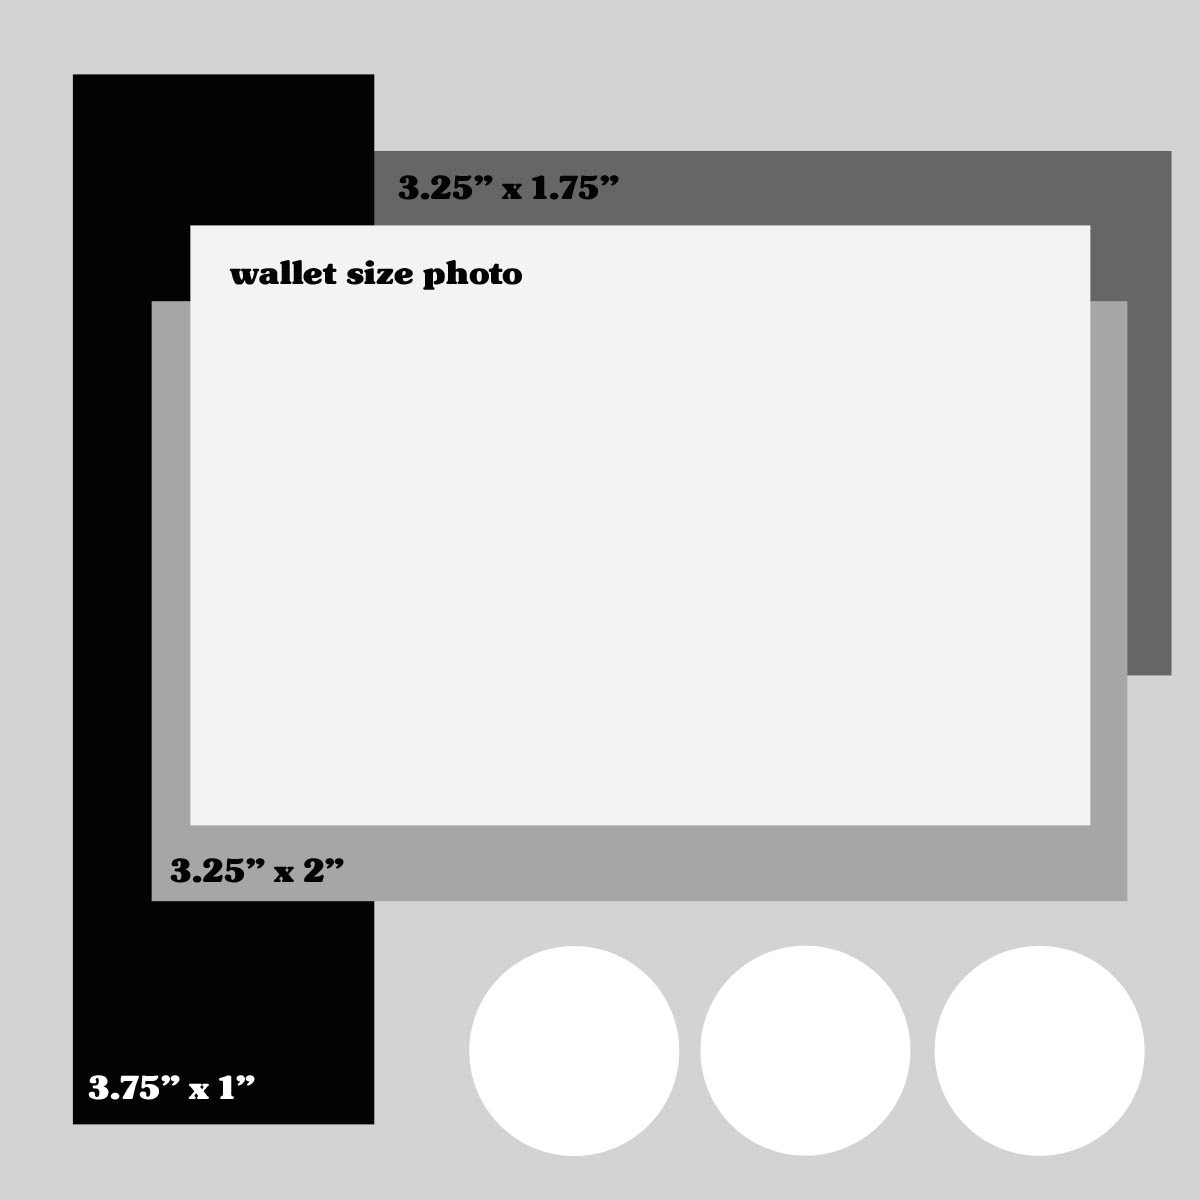
Before you start cutting into your paper and gluing things down, you need to design your layout (if need be...sketch it out). I chose to make "unattached" layouts, so if the recepient wants additional layouts in the future, they can just swap them out. This will limit you to using a wallet size photo (approx. 2" x 3"), but that doesn't mean you can't be creative. These are some of the sketches I used for my altered chipboards.
If you want to use a bigger picture (something closer to 4" x 4"), then you do have the option to adhere your layout/photo to the clipboard with something like Mod Podge. It's just a matter of personal preference.
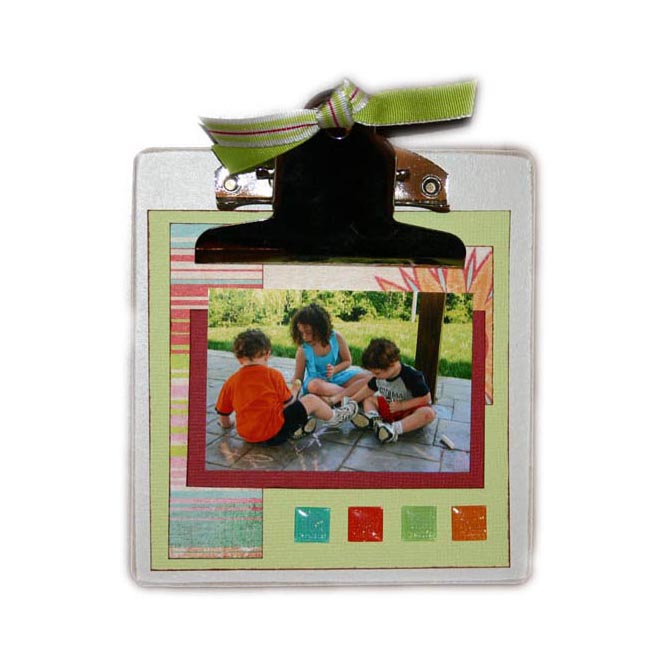
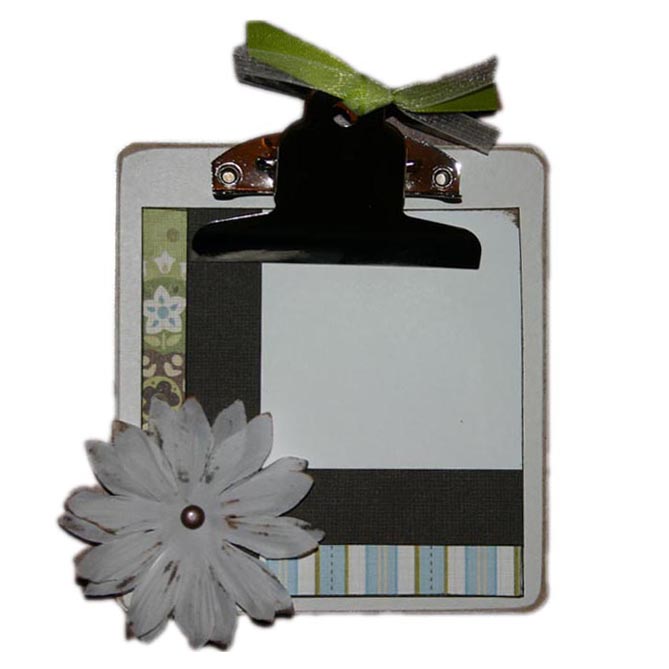
Once you have your design ready, get all your supplies together and start creating. The great thing about altered clipboards is that you can make them with or without pictures and they're terrific gifts either way! Here are some real life examples...
Total time from start to finish per clipboard...approx. 20 minutes.
Happy Scrapping!!
Home > Scrapbook Articles > Scrapbook Tips and Techniques