|
How to Attach a Brad
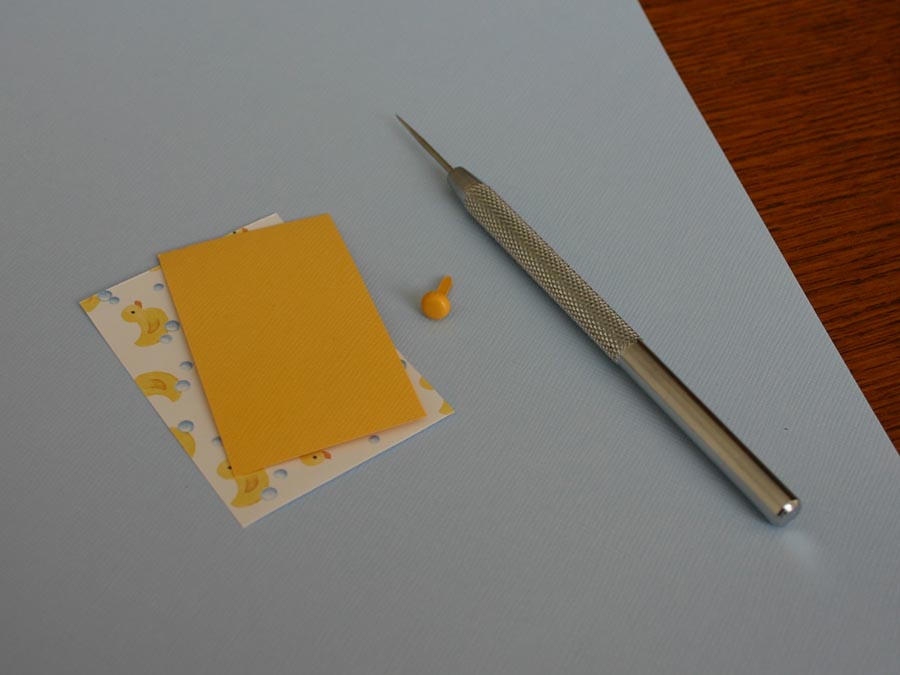
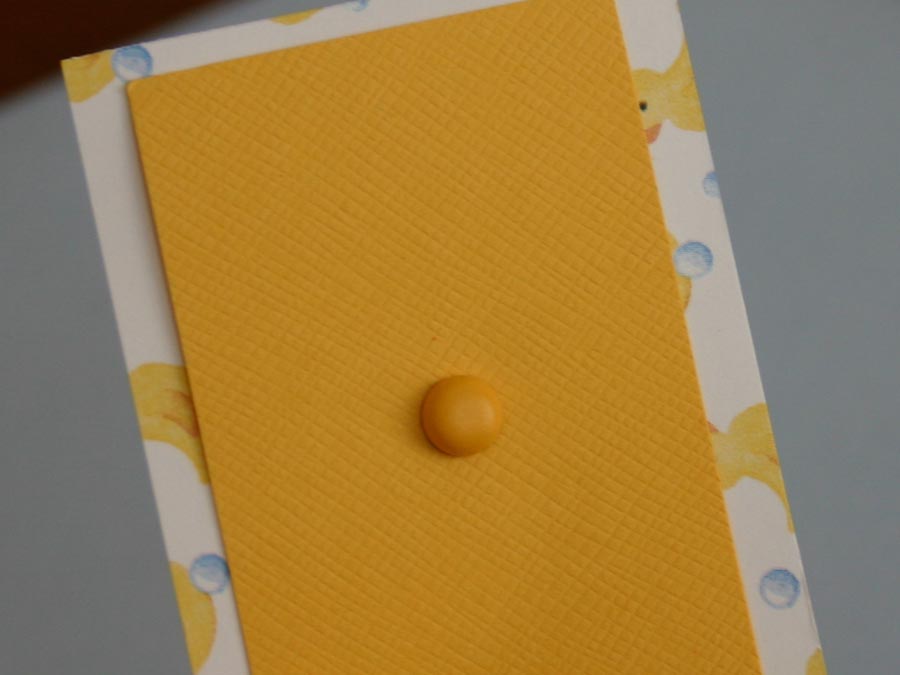
But, before we learn how to attach a brad, you need to know what a brad is and what it can do for you. To put it very simply, a brad (as defined the Scraptionary) is similar to an eyelet, but is secured to a scrapbook layout via prongs that are pushed through the paper and then flattened. They come in a variety of shapes and colors and can be used to attach one piece of paper to another, as the center of a flower or in groups (such as a photo corner) to give your page even more definition.
Step 1
It looks like some kind of torture device, but can give you a perfect little hole for attaching your brad (smaller than what you might get if you used an eyelet setter, though that works too).
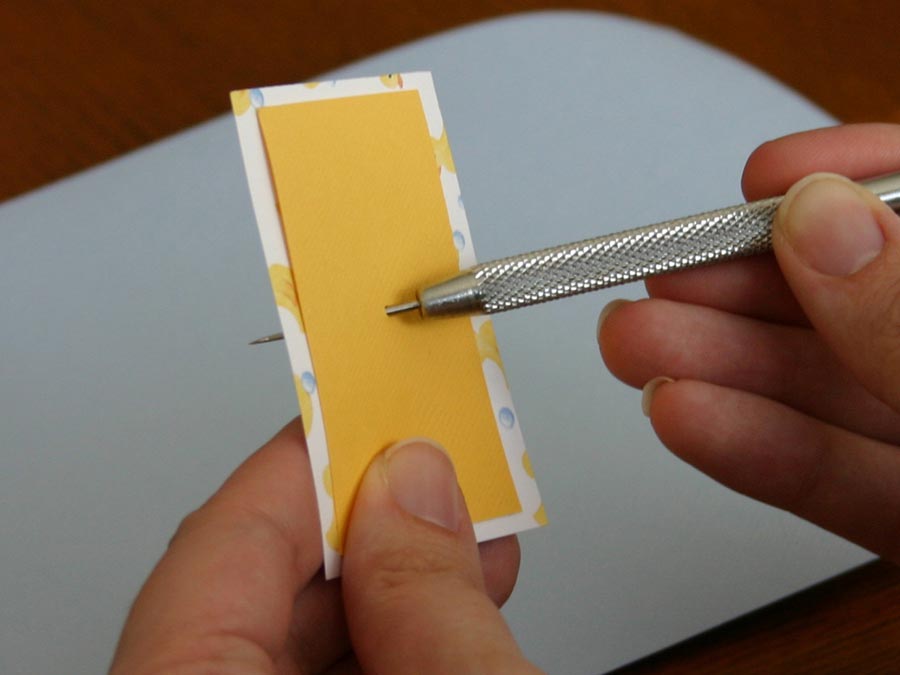
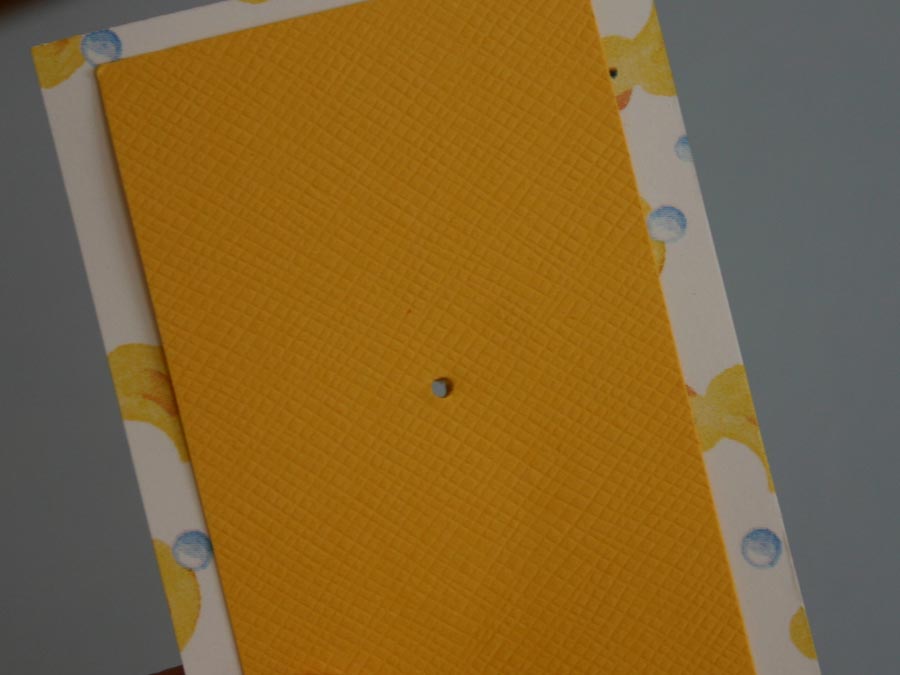
Obviously, you can't attach a brad without piercing the paper first and let me highly recommend that you don't use the brad itself to pierce the paper. Why?... Trying to force the brad through the paper will only lead to wrinkled paper. Once you've decided where you would like to place the brad, pierce a hole through the paper. If you're using a regular-size brad, make sure to push the paper piercer all the way through, so the hole is as big as possible.
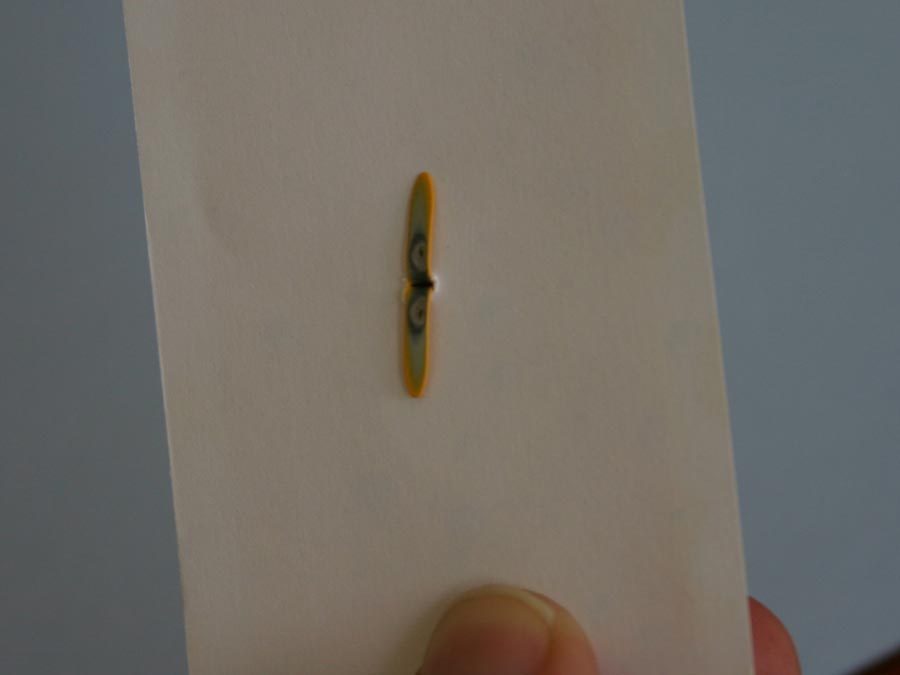
Step 3 Finally, once you've pierced your paper, all that's left to do is attach the brad to your paper. All you have to do is push the brad through the hole you've made (prongs still together) and then push the prongs flat, so the brad remains attached.
|


