How to Use Eyelets
 The first step in learning how to use eyelets is to understand exactly what an eyelet is.
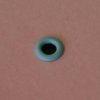
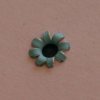
As defined in the Scraptionary, an eyelet, sometimes called a grommet, is a metal embellishment that reinforces a hole that has been punched in the paper. They come in a variety of sizes (1/8", 1/4" or 3/8"), a variety of colors and a variety of shapes (the typical round shape, square, flowers or hearts). In the past, eyelets have been set with a hammer and eyelet setting tool. In recent years, several manufacturers have come out with automatic eyelet setters that have made setting eyelets easier and quieter.
In this article, I'm going to review two methods of setting an eyelet – the traditional method with an eyelet setter and a hammer (Making Memories Eyelet Setter Kit) and with one of the newer, though (as I found) less effective all-in-one eyelet setters (Fiskars 3-Piece Eyelet Setter Kit).
How to Use Eyelets – Step #1
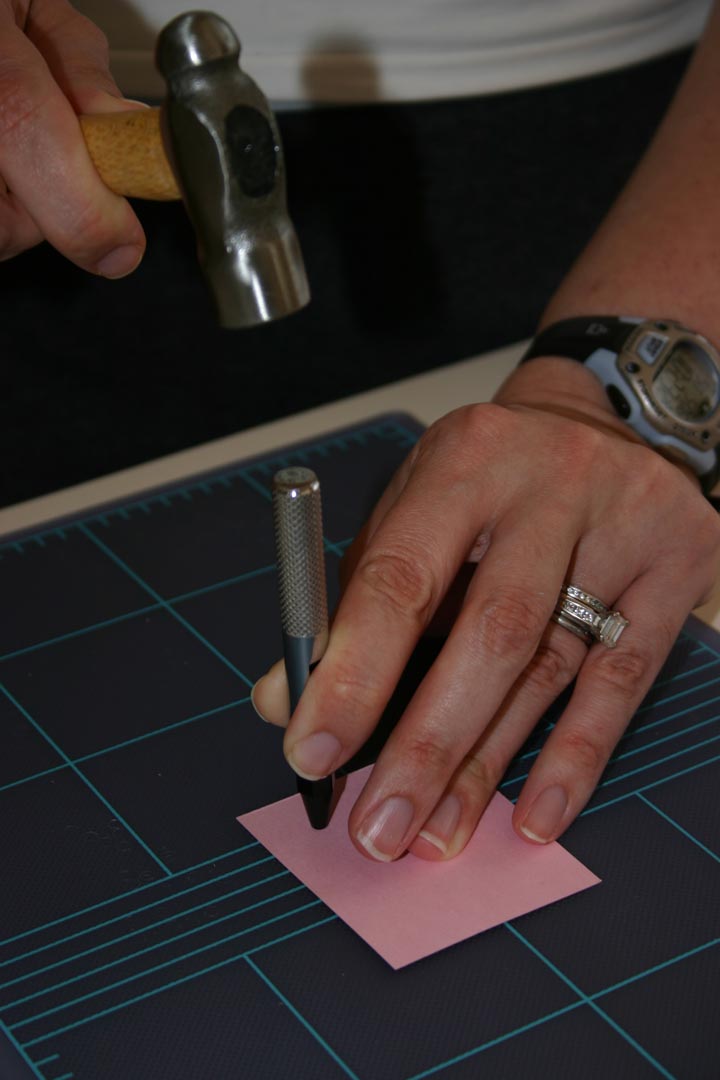
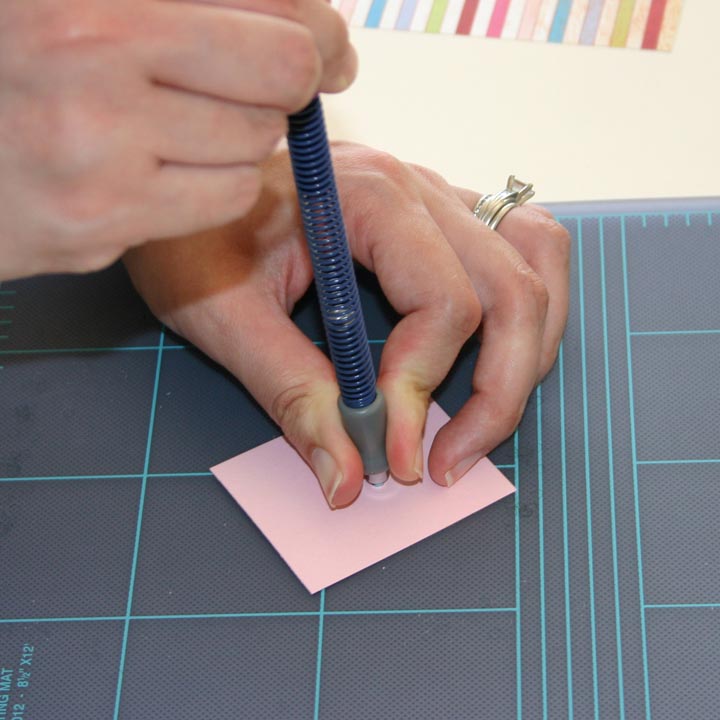
Unlike a brad, where you only need a pin size hole, you need a clean hole punched in your paper for an eyelet. Now, before you reach for your traditional hole punch, keep in mind the size of your eyelet. Most "normal" hole punchers create a decent sized hole, which may be too big for your eyelet.

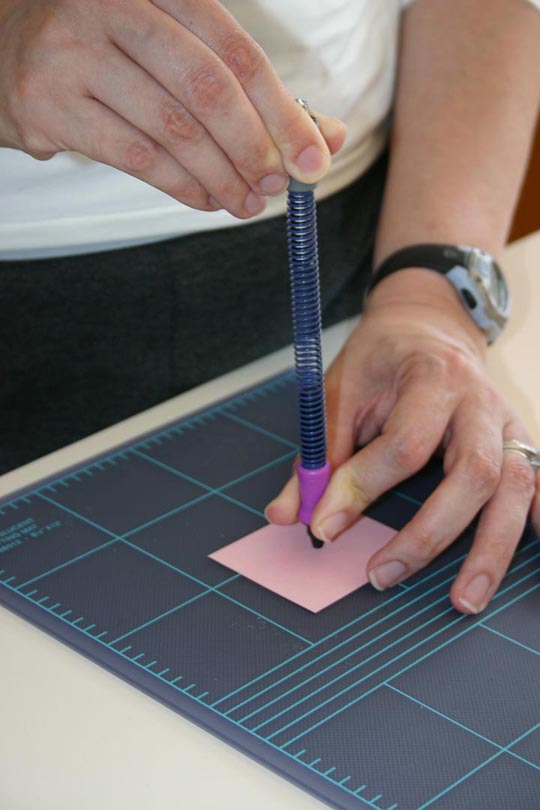
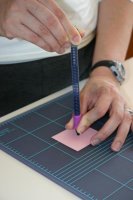 To solve that problem, most eyelet setters come with hole punches that will punch the appropriate sized holes for the common eyelet sizes. With the Making Memories eyelet setter, you are provided with a steel hole punch base, with interchangeable tops, that punches different size holes. With the Fiskars eyelet setter, each all-in-one setter punches and sets a specific sized eyelet.
NOTE: There are handheld hole punches available that will punch different size holes, so if you already have some of those, you don't need to worry about getting additional hole-punching tools.
IMPORTANT!!... Make sure you use a self-healing mat under the paper you're punching holes in or you'll soon have a nice collection of punch outlines in your dining room table.
How to Use Eyelets – Step #2
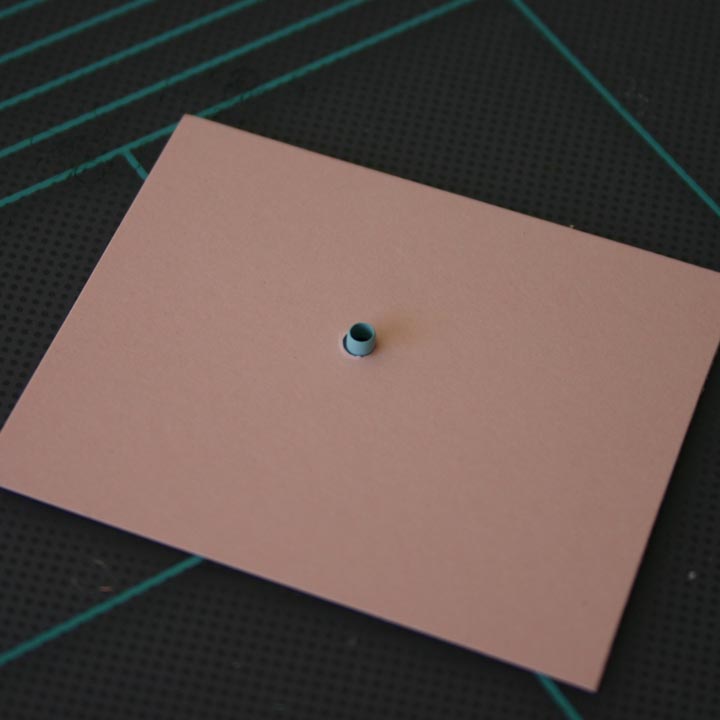
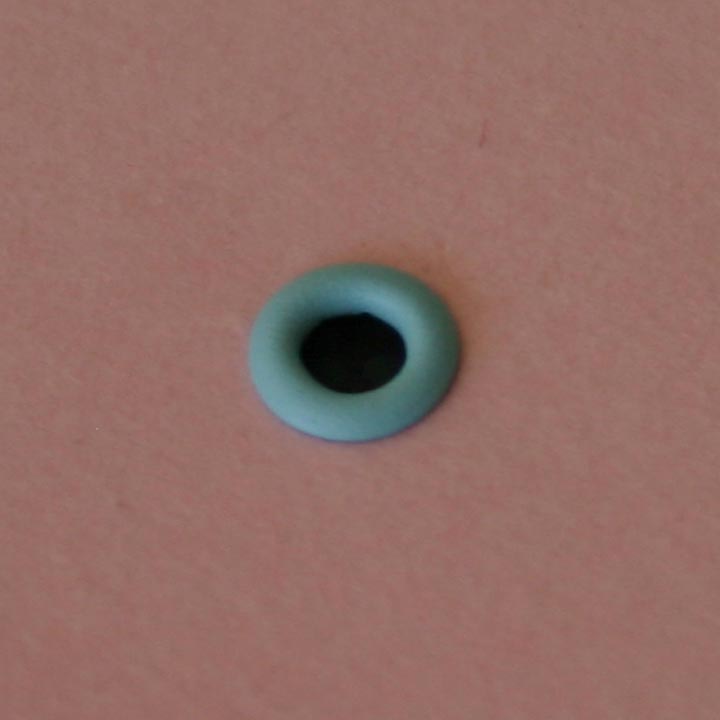
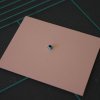 Once you have the hole punched in your paper, you need to insert the eyelet and then flip the piece of paper over. Regardless of the type of eyelet setter you have, you need to set your eyelet by flattening the backside of the eyelet.
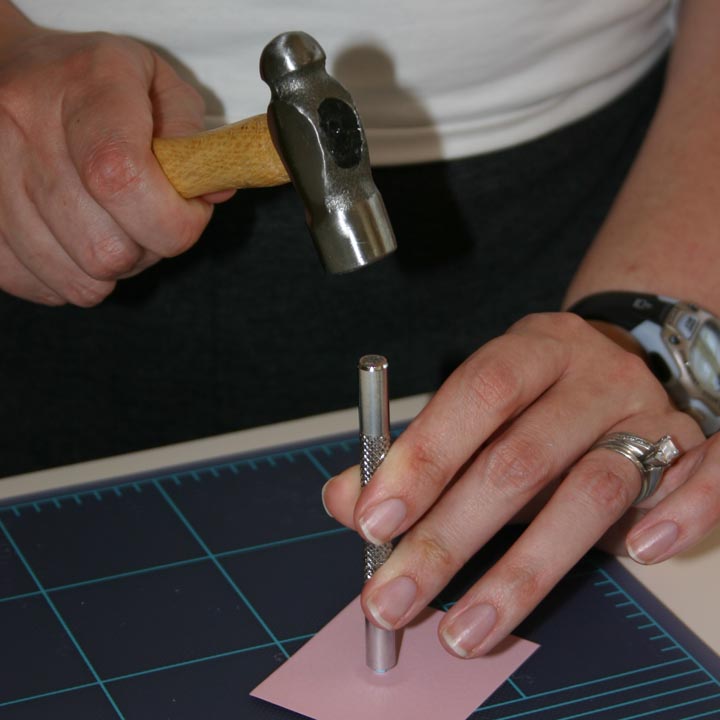
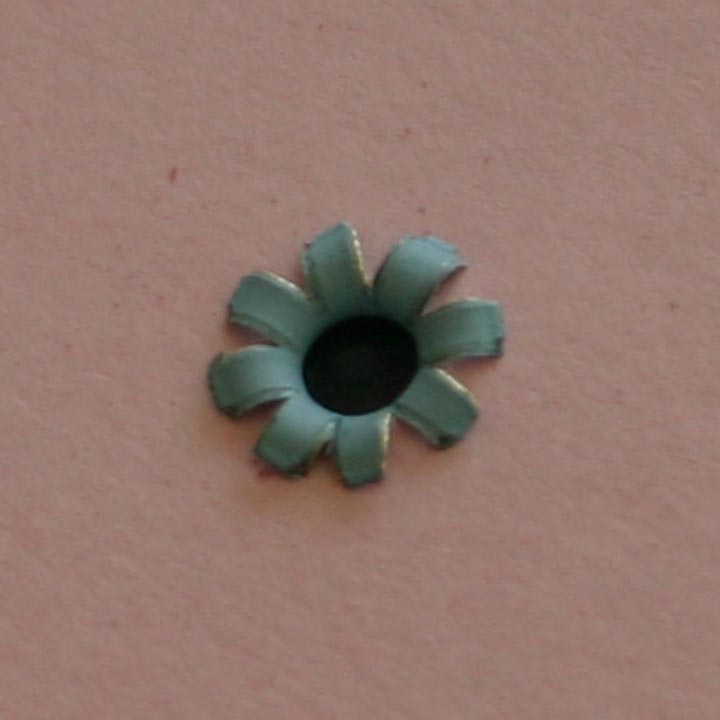
With the Making Memories setter, you place your eyelet setter on top of the backside of the eyelet and then hit the top of the setter with the hammer. Is it loud?... Yes, and that's the major complaint with this tool, but I've also found the 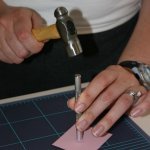
 Fiskars tool to be loud as well (and it doesn't create as nice a backing). I've heard rave reviews about the Crop-A-Dile and am anxiously awaiting the arrival of mine. If you're interested in learning more about the Crop-A-Dile, please let me know by filling out the quick form below.
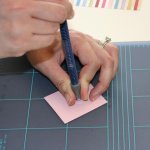
 NOTE: In most all instances, when you're actually setting the eyelet, you need to make sure you're working on a hard surface, so the backside of the eyelet is completely flattened.
Now that you know how to use eyelets, you're probably wondering…why would I use eyelets? So, here are a few things you can do with eyelets:
Eyelets can be used to tack down just about anything, but a lot of people use them to attach vellum because "gluing" vellum can be problematic.
You can use one as the center of a flower or as photo corners.
To give the tops of your tags some reinforcement, you can put an eyelet in the hole punched at the top and then string a ribbon through it. Or…
You can use a whole bunch of eyelets, in different shapes, colors and sizes, to give your layout a little something extra. Create a frame around a picture or a linear element in your layout - using eyelets will help to give your layout dimension.
Happy Scrapping!
Home > Scrapbook Articles > Scrapbook Tips and Techniques