|
How to Use Rub-OnsBut before we get to how to use rub-ons, let's take a minute to figure out exactly what a rub-on is. The only thing I can really compare them to is a mix between Colorforms and Shrinky Dinks. They're paper thin and aren't sticky to the touch, but they stick like any sticker would with a little "rub." Rub-ons can be alphabets, sayings…any variety of things that you would expect to find in sticker form. So, what can rub-ons be used for?... Well, anything that you might use a sticker for with a few modifications. You can use them for titles or as part of an embellishment. For example, you can adhere a rub-on to the top of a big brad or piece of chipboard. The great thing about rub-ons is that they don't get "sticky" until you want them too. Now, you're probably still wondering, well how do I use a rub-on? Again, it's easy, just follow these steps and you'll be on your way to enjoying the added flexibility that rub-ons provide.
Step 1
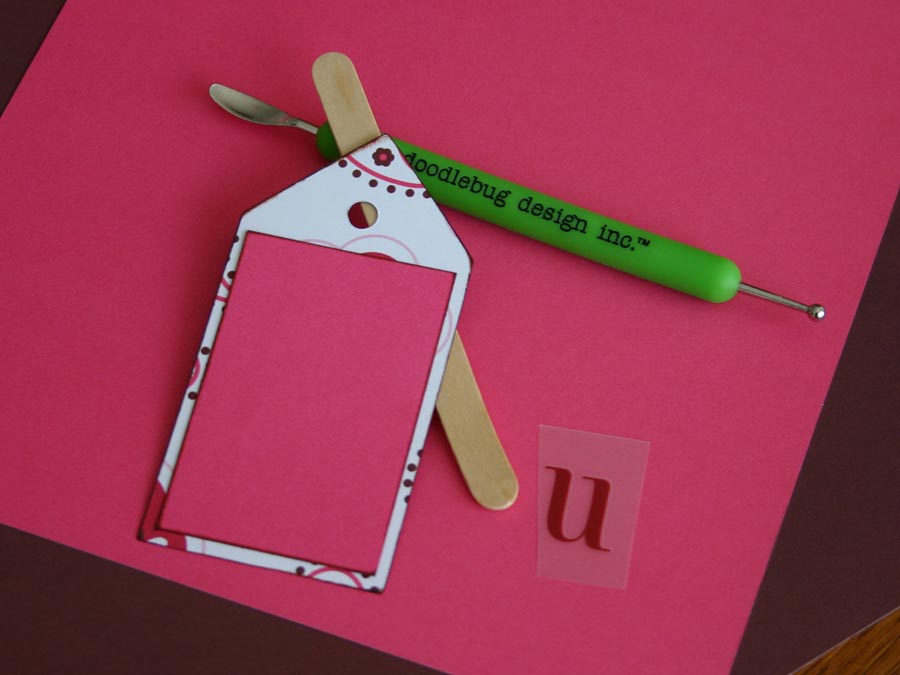
In most cases, when you buy a pack of rub-ons, you will be provided with a very sophisticated tool with which to attach your rub-on...it's called a popsicle stick! You may also get something that looks like a cuticle pusher from a manicure set, but I like my metal rub-on tool. The one that I have actually doubles as an embossing tool, but that's another discussion. In all honesty, there is no one tool that works better than the other. All you really need is something that will smoothly rub the image onto your paper, brad, etc. So, let's get on to learning how to use rub-ons.
Step 2
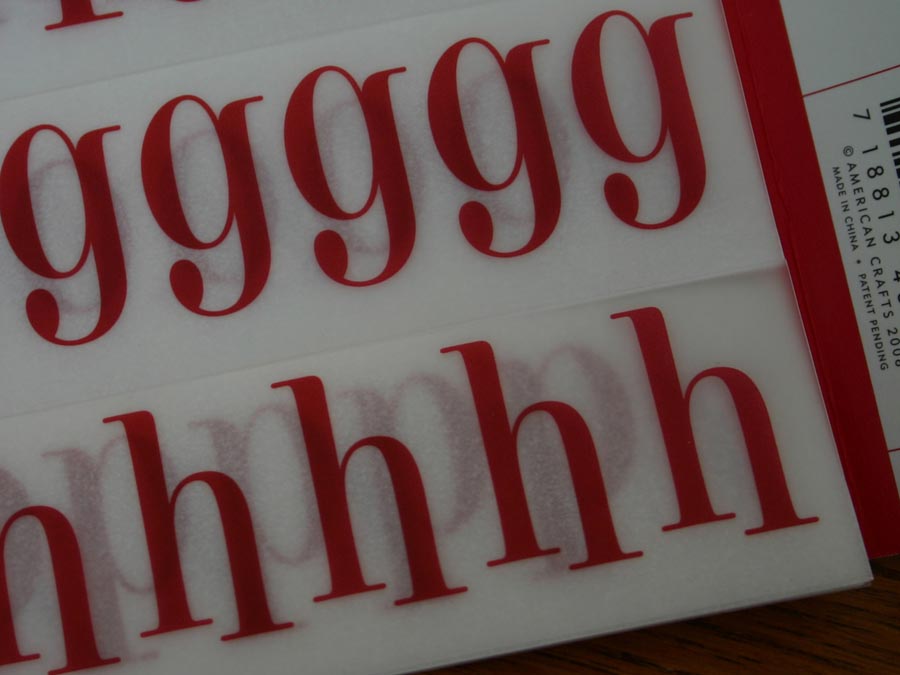
One of the advantages rub-ons have over stickers is the amount you usually get in a pack - instead of just getting one, or maybe two, of each letter, you get 10. They also come in a variety of colors, sizes and fonts.
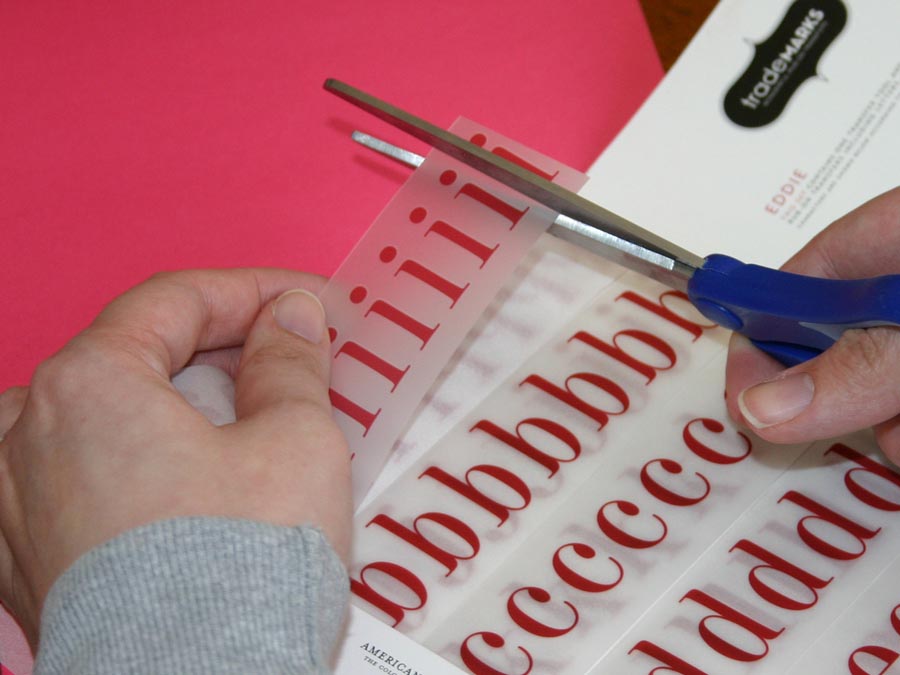
Why?... This will allow you to place the rub-on exactly where you want to without the risk of rubbing more than one letter onto your layout (they are placed very close together, so the possibility is there).
Step 3
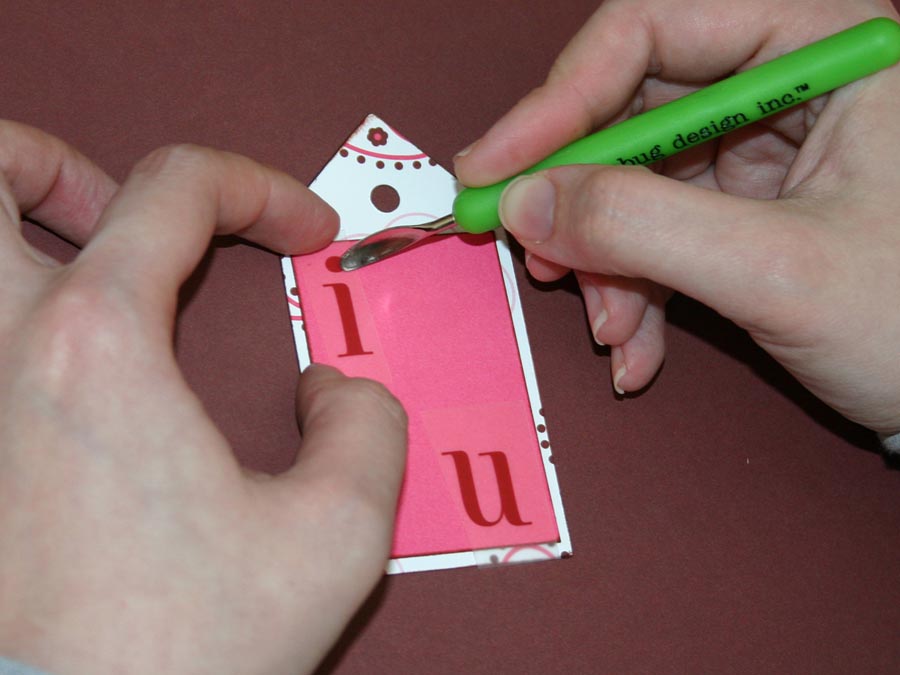
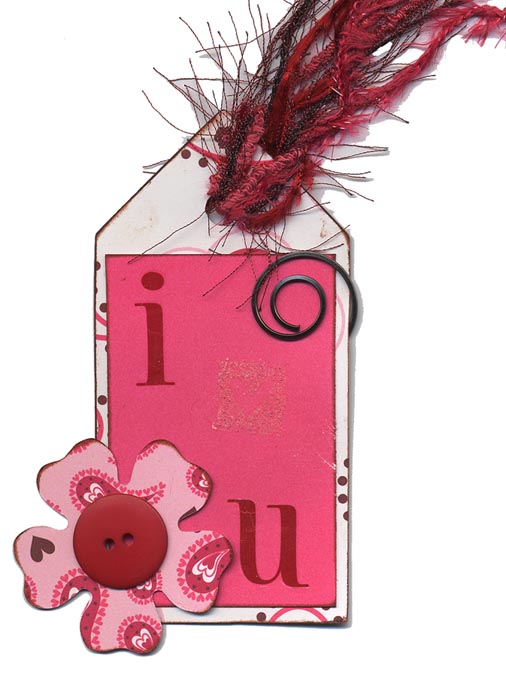
As you rub, you will notice that the image will separate from the wax paper. Once the image is completely separated, your rub-on has been successfully transferred to your layout, tag, brad...whatever you happen to be adhering it to.
As you can see, learning how to use rub-ons doesn't require a Ph.D. in scrapbooking, just popsicle sticks! Happy Scrapping!!
|